Soil Testing
We determine the soil nutrient and contaminated content, composition, and other characteristics such as the acidity or pH level.
Soil Testing
We help in increase your productivity by knowing the properties of your soil
Soil Testing
To remain profitable in agriculture under present conditions, every farmer and grower should consider that fertility levels must be measured.
Soil Test
In a survey conducted some years ago, farmers were asked whether they believed that soil testing was something that should be used for raising better crops and improving soil fertility levels. 82% answered "yes". When these same farmers were asked if they used soil tests, only 28% said" yes"!
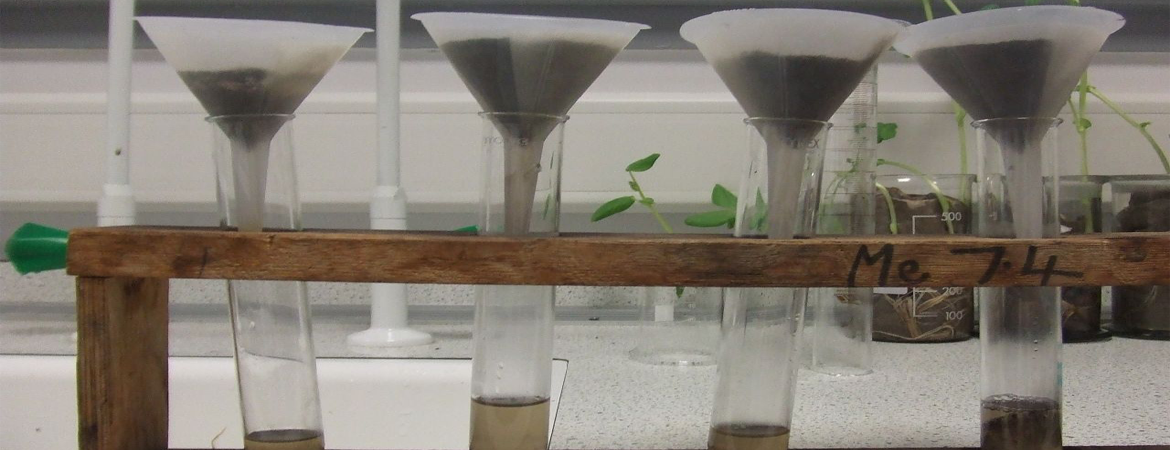
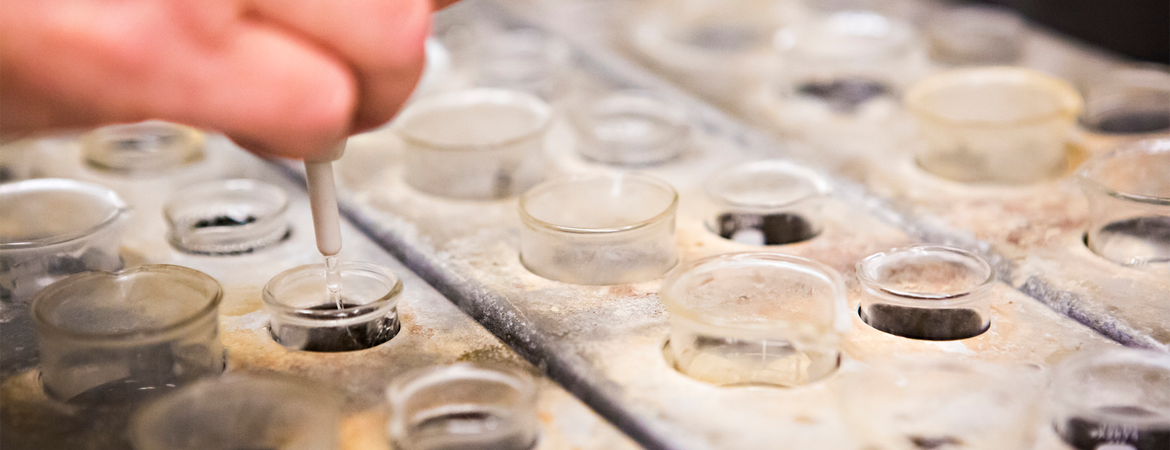
What is Soil Testing?
A soil test is a process by which elements (phosphorus, potassium, calcium, magnesium, sodium, sulfur, manganese, copper and zinc) are chemically removed from the soil and measured for their "plant available" content within the sample. The quantity of available nutrients in the sample determines the amount of fertilizer that is recommended. A soil test also measures soil pH, humic matter and exchangeable acidity. These analyses indicate whether lime is needed and, if so, how much to apply.

Why is it important to soil test?
Soil analysis is a valuable tool for your farm as it determines the inputs required for efficient and economic production. A proper soil test will help ensure the application of enough fertilizer to meet the requirements of the crop while taking advantage of the nutrients already present in the soil. It will also allow you to determine lime requirements and can be used to diagnose problem areas. It is very important that your sampling technique is correct as the results are only as good as the sample you take. Soil testing is also a requirement for farms that must complete a nutrient management plan.
What are the economic benefits?
If you are taking soil samples, and have the capabilities to follow through on what is shown to be needed, don't just take soil samples every 3 or 4 years. Instead, stop and analyze the situation. How valuable is the crop? Those who are growing seed crops, or crops of higher value, should test before every crop. One client who owned a seed farm, for example, from the time sampling first began, would sample twice within a 12 month period, when raising a seed corn and a seed wheat crop. We also have commercial vegetable who sample to fertilize for their principal crop, and again prior to whatever will be used in the rotation, even if it will be cover crops. Some of our largest clients grow tree fruits and nuts, and they correctly take soil sample every year. Even cotton, corn, soybeans, and wheat producers who are achieving high yields should do the same thing, and many who are clients of ours do just that. One vegetable or seed wheat crop grower put it this way, "If I soil test properly, it costs me less than 1 or 2 small square bales of hay per acre. But if I don't test, it can cost far more than that buying fertilizer I really don't need, or through loss of yield for failing to apply something the soil did need".
What to Know About Your Soil?
To find out what you need to do to improve your soil's quality, you should know each of the following attributes of the soil:
- Current pH levels of your soil.
- Fertility levels of the principal nutrients.
- Type and quantity of lime your soil needs.
- Nutrients need to be added to your soil as fertilizer.
- Amount of fertilizer your crop and soil needs.
In agriculture today, anecdotal evidence suggests the percentage has improved. To remain profitable in agriculture under present conditions, every farmer and grower should consider that fertility levels must be measured. These measurements can then be used to manage soil fertility to more precisely achieve top production and quality, while still keeping costs at the minimum necessary to meet the goal.
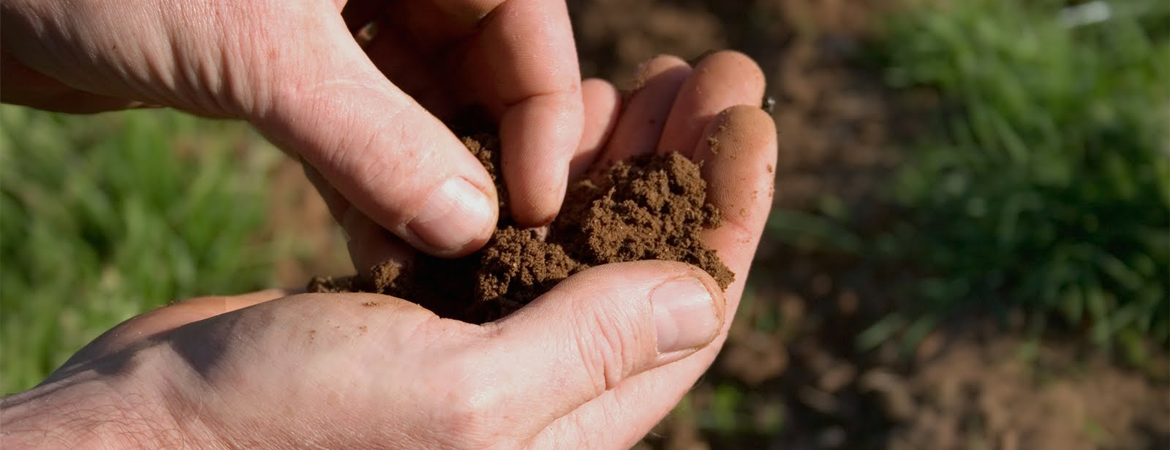
A soil sample must be taken at the right time and in the right way. The tools used, the area sampled, the depth and the correct mix of the sample, the information provided, and packaging all influence quality of the sample.
6 Steps to a successful soil sample :
- 1. Get a trowel and a bucket. Be sure neither is rusty or made of galvanized (zinc-coated) metal, which could skew your results.
- 2. Scrape mulch and leaf litter from the soil surface. Dig out a wedge of soil about 6 to 8 inches deep, and set this wedge aside.
- 3. Now dig out a half-inch piece of soil from the hole and pour it into your bucket.
- 4. Repeat steps 2 and 3 at least a half-dozen times in different parts of the farm or garden so that the soil sample represents your whole garden when mixed.
- 5. Use your trowel to mix the soil together thoroughly.
- 6. Fill the soil sample bag or container with the mixed soil, complete the paperwork and mail it all off to the lab.